
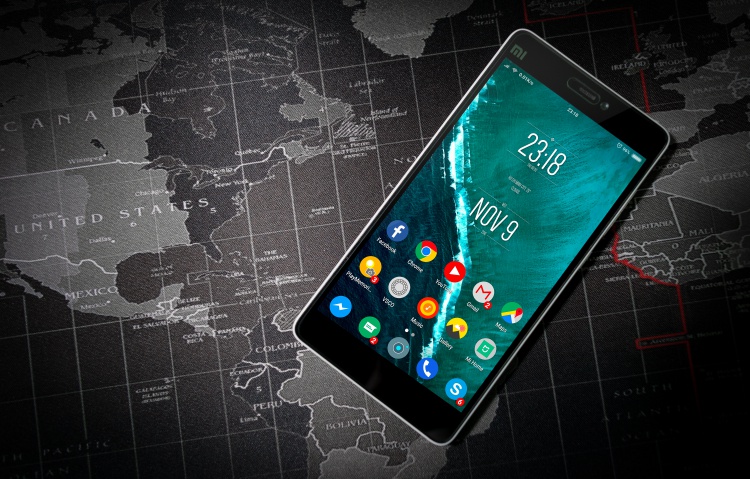
What had been a feature unique only to Motorola smartphones, the nifty Smart Lock feature has now come intact with every Android devices running on Lollipop and later OS versions.
Unlike having to unlock your smart device every time you use it—which can be a hassle for some especially in conditions where the user and only the user could get access to the device—this great feature makes our personal devices handy while not compromising on security at the right settings.
Android Smart Lock does so by bypassing the need to go through the effort of inputting your unlock code or pattern every time you need to use the device from a stand-by when you are in places deemed secure for your device.
Not preset by default to users—which therefore makes it a common neglected feature by the unawares—any Android-capable device for the feature requires the actual users of setting the Android Smart Lock based on their preference.
Related: How to turn on and off Safe Mode in Android
Although how this trusty feature will be set and enabled will vary from one device to another, they all share the same logic in how the feature would work according to setting.
Setting Up the Android Smart Lock Feature
For users keen on trying out the feature for the first time, the first step is the setting up of the “Lock Screen” feature. This can vary between choosing to use a personal password, a set pattern, or PIN. The other options, “none” and swipe, offer no security protection at all which makes choosing them unnecessary.
Once the Lock Screen is all set, the next step is for users to go to their device’s “Settings” option, scrolling down to “Security,” and finally landing on the “Smart Lock” option.
Coming across the Android Smart Lock option, users will also be given a choice between 5 different options of how the device will consider a situation “safe” or “unsafe” in automatically enabling the Smart Lock feature (disables the lock screen is “safe,” or enables it if otherwise).
1. On Body Detection
Making use of the device’s own accelerometer, it detects whether it is being carried inside the bag, the pocket, of if it’s being held by the hand. If so, the device will disable lock screen to facilitate on the device’s handy use but will enable on it once it detects that it’s placed on a desk or table.
2. Trusted Places
Making use of the map, users can predetermine places which are safe which, when in any of those places, asks the device to remain disabling the Lock Screen feature.
READ: Many VPN apps for Android leak users data, promote malvertising, and unencrypted
3. Trusted Devices
If the user has another kind of device to pair his Android unit with, users can make use of these devices as a signal to keep their main Android device unlocked.
4. Trusted Face
Although using this feature may not be as handy as the other mentioned means, using the device’s camera to detect whether or not it is with the right hands (and thereby respond to it accordingly) by scanning on the user’s face is nice, but the process is slower.
5. Trusted Voice
Perhaps the easiest to use—unless you’re having a bad case of sore throat—using this option enables the user’s device to unlock itself by making use of the device’s microphone and upon “hearing” the command “Ok Google.”
Everything from here is pretty much already self-explanatory.
Great insights on Android Smart Lock! I love how it balances convenience with security. It’s definitely a feature that makes life easier, but I wonder about the potential security risks if not used carefully. Would love to hear more about your thoughts on that!