

Discord is one of the most used software for gamers and non-gamers for chatting and voice chat. Keeping in touch with large groups of people is hard, especially when it comes to organizing them.
But for Discord, you can easily identify those by just creating multiple channels for specific people. Since staying at home is the proper way to protect yourself and family, you can still keep in touch with your friends while using social distancing.
GUIDE: How to manage and start up your own Discord server
Step 1: Go to Discord and scroll to the bottom of your server list. There’s a plus symbol, click it and it will give an option to start your server.

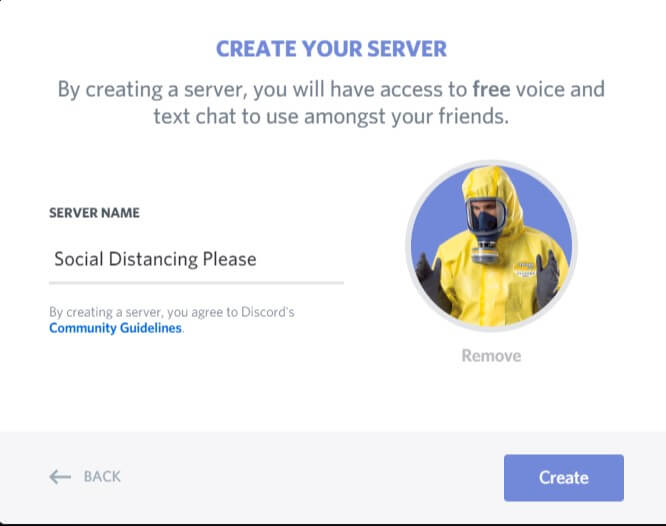
Step 2: Afterwards, you can name your server and upload a photo.
Step 3: After creating your server setup, you’ll have an option either to create a voice channel or text channel by just clicking the plus symbol.

Step 4: Now you can create different channels that will help you to organize topics and other categories. For example, you have a channel for gaming-related things and another channel for movies.
Voila! Your Discord server is now online.
Adjust some of the settings in Discord
In server settings, you can manage how many notifications your server sends, manage each member, create a widget and even upload custom emoji.
Familiarizing and exploring individually is worth it, as you can customize your server to your own taste. I recommend setting notifications to not send all messages by default. It depends based on how many people you invite to your server, because a notification to every message can be distracting at times.

There’s also text channels settings where you can customize names and put specific topics to discuss in each channel. A permission to restrict member access to channels are also available.
You have freedom in creating a server in Discord and it will depend on how you want it to be and how you manage your own channels for your server.

After all the set-up as well as organizing and sorting are done, you can start inviting people. By going to the server drop down menu, select “invite people” and this will give you the option to invite your Discord friends directly to your channel.
As an alternative, you can simply copy the server invite link and send it to a group of people. Links usually has a 1-day period only, but you can customize it to no expiry if you want to. Once your friends join or other people join you have the rights to assign roles to every member by going to the Server Settings.

There you have it! You have successfully set up your very own server in Discord.