
Live Photos is one of those features that isn’t really groundbreaking, but it’s still nice to have.
In fact, if you left it turned on even though it’s kinda annoying at first, you’ll probably find yourself liking it over time. I did just that, and I’m glad that I did.
Swiping photos from left to right and vice versa looks way more fun once the Live Photos feature kicks in. Sometimes images can’t really show the whole story, and that’s where Live Photos comes in handy. The iPhone camera takes a short clip right before you hit the shutter button, so it captures not only the moment itself but also what happened behind-the-scenes.
However, it’s not perfect. While it may work flawlessly for supported iOS devices, sharing them outside the Apple ecosystem is a nightmare. But worry no more, because that’s what we’re going to talk about today.
Sharing iOS Live Photos to others can be as simple as converting the file to a short video or GIF. There are several apps that can help you do this, and we’ll share some of our favorites below.
How to easily convert Live Photos to video or GIF in iOS 11
To make the Live Photos content accessible to everyone, we need to convert it into a GIF file.
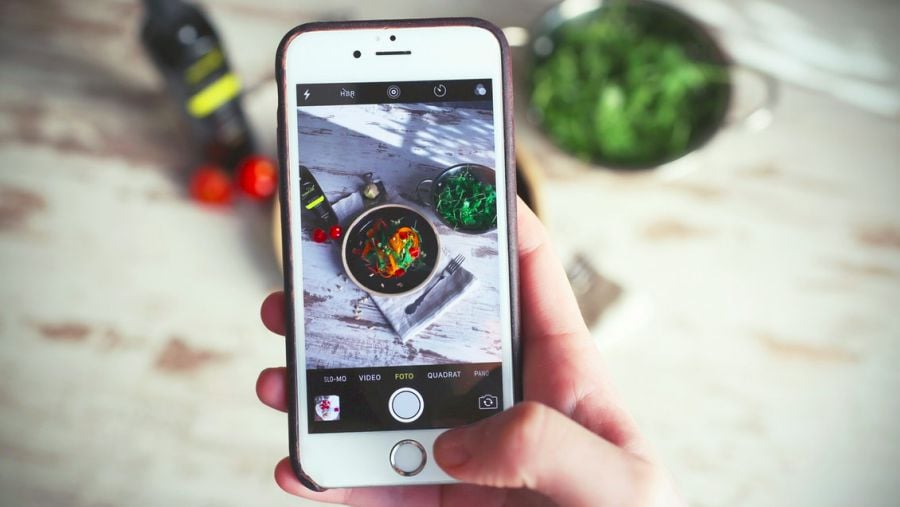
Step 1: Simply launch the Photos app on your iPhone or iPad to see a list of photos you have in your library. Select which photo you want and see if they have the ‘Live’ icon in the upper left corner of the screen. Another option is to go to the Live Photos directly to see a list of supported images.
Related: 4 ways to charge up your iPhone faster

Step 2: After selecting the photo, swipe up to reveal the different Live Photo animations and effects available. You can choose between Live, Loop, Bounce, and Long Exposure.
Step 3: Swipe back down to save the changes you’ve made. At this point, the image is already converted into a GIF / video. In case you want to change the effects, simply swipe up again and repeat the process.

Step 4: If this is your first time changing the effect of a Live Photo, a new album will be created in your gallery named ‘Animated’. This is where your newly created video / GIF is saved.
Step 5: Share it with your friends on Facebook, Instagram, and Twitter. Please note that if you share it on these social media platforms, it will be sent as a video.
See also: Boost your iPhone’s speaker volume with this simple trick
Note: Often times, the file will be sent in a video format. This is usually the case with social media platforms. However, when sending the converted GIF / video Live Photos to Android users via email, it should be sent using Apple’s built-in sharing functionality (the arrow up button). Otherwise, it won’t be recognized by the Android smartphone of the receiver. Opening the email on a computer reveals that the file is indeed sent in GIF format. Meanwhile, sharing the converted Live Photos using SHAREit doesn’t yield good results, as the received file is either unsupported or jpeg only.
That’s it! You no longer need to download anything as everything is already provided by Apple in iOS 11. If you have other ways of doing this procedure, or if you’re having problems, let us know in the comments below and we’ll help you out.
You can definitely see your expertise in the work
you write. The arena hopes for more passionate writers like you who are not afraid to say how they believe.
All the time go after your heart.